


Document Actions
gvSIG-Desktop 1.9 Alpha. Manual de usuario.
Filtrado
Descripción
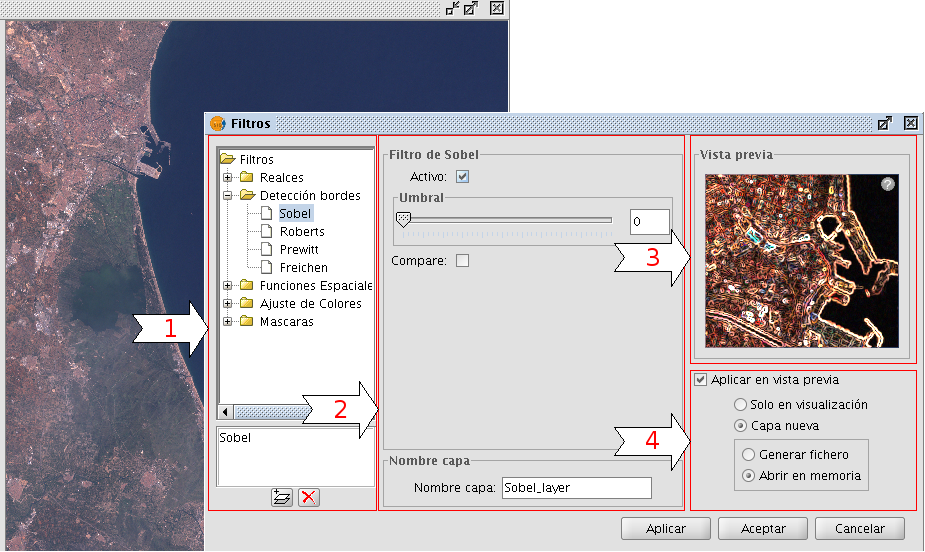
Filtering is a process by which we can enhance images. gvSIG can filter images through a variety of filtering methods. In the upper left part of the Filter dialog, the filters are grouped by type (1). By double-clicking one of the filters or by clicking on the "Add Filter" button on the bottom left, the filter will be added to the list of filters in the lower left part of the Filter dialog. All filters in the filter list will be applied in the preview. If you want to remove a filter from the list, you can either double-click on the filter or click on the "Delete filter" button. The filters in the list will be applied to the image in the order that they appear. Keep in mind that the order in which the filters are applied will affect the result, and changing the order of the filters may change the output.
In the middle of the dialog window are the controls of the selected filter (2). When changing the controls of one of the filters from the filter list, the results will be directly shown in the preview window. Below the middle part of the dialog you can change the name of the output layer that will be generated when clicking "Apply" or "Close".
On the right side of the dialog you can preview the outcome of the filters (3). (See documentation on "Preview tool"). In the lower right part you can select whether you want to display the filters over the selected layer or save the filtered image as a new layer (4).
The button "Apply" will apply the changes according to the entered parameters, keeping the Filter dialog open. The "Close" button will apply the changes and close the Filter dialog. The "Cancel" button will close the Filter dialog without applying any filters.
All filters in the filter list can be activated or de-activated through the "Active" checkbox. This checkbox is usually located in the upper part of the filter control panel.
Configuration panel for the image filters
Generate a new layer or apply to current layer
The number of applied filters will affect the time that it will take to draw the layer. If you choose to apply the filters to the current layer, the drawing and re-drawing of the layer may slow down while the filters are applied. If the filter results are saved as a new layer, the filtering process has to be done only once so that the next time the layer is drawn, it will not be slowed down by the filtering. Therefore, it is generally recommended to save the output to a new layer if possible. There are cases though in which it is not recommended to generate a new layer. For example, if you have a large orthophoto and you only want to change the brightness a little, it could take more time to save the output as a new layer. If the brightness filter is applied over the current view, the area on which the filter is applied is much smaller which makes the drawing faster. It is up to the user to decide whether it is better to create a new layer or display the filters on the view of the current layer.
Realces
The brightness filter changes the brightness value of the layer. You can increase or decrease the brightness by moving the position of the sliding bar or by entering the value directly in the text box and press enter.
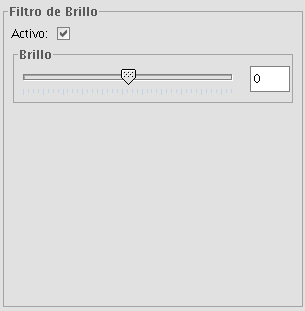
Brightness filter
The contrast filter changes the contrast value of the layer. You can increase or decrease the contrast by moving the position of the sliding bar or by entering the value directly in the text box and press enter.
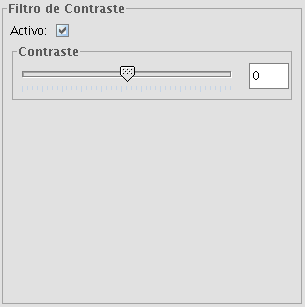
Contrast filter
Funciones espaciales
With this type of filter, graphical transformations like smoothing, edge detection, sharpening etc. are applied to the image.
The following filter types can be applied:
MEDIAN FILTER
The median filter applies a kernel of a certain size, which is determined by the user through the sliding bar labeled Window side.
The median filter is normally used to smoothen and to reduce noise in an image, by moving a kernel of N x N number of pixels over the image and evaluating each central pixel, replacing its value with the median of its neighboring pixels. Compared to the Mean filter, the advantage of the Median filter is that the final pixel value is a value that actually occurs in the image and not an average.
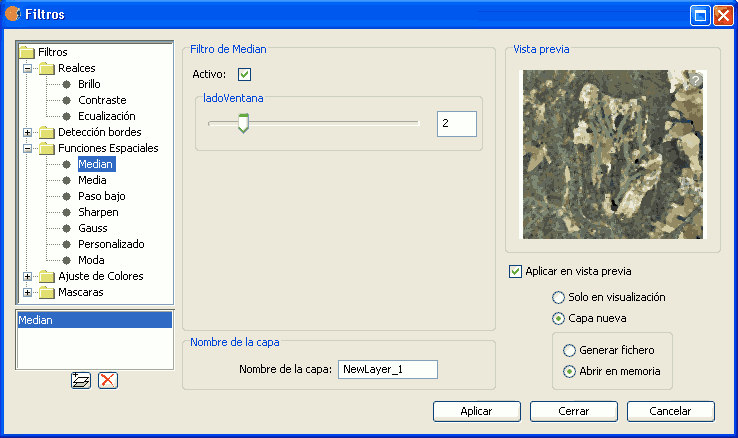
Median filter
MEAN FILTER
The mean filter applies a kernel of a certain size, which is determined by the user through the sliding bar labeled Window side.
The filter replaces the value of the central pixel with the mean value of the surrounding pixels. Each value of the kernel would be one and the divider would be the total number of elements in the kernel (i.e. a kernel of 3 x 3 would replace the value of the central pixel by the average value of the nine pixels covered by the kernel).

Mean filter
LOW PASS FILTER (smoothing filter)
The low pass filter applies a kernel of a certain size, which is determined by the user through the sliding bar labeled Window side.
Using a low pass filter tends to retain the low frequency information within an image while reducing the high frequency information.
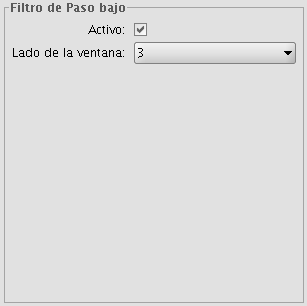
Low pass filter
SHARPENING FILTER
By moving the slider to change the sharpness (values from 1-100), the contrast of an image can be changed. The results can be evaluated in the preview window. With a higher contrast, details in the image can be accentuated but the noise will also increase.
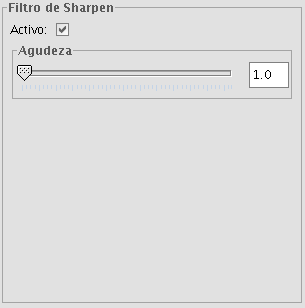
Sharpening filter
GAUSS FILTER
The Gauss filter applies a kernel of a certain size, which is determined by the user through the sliding bar labeled Window side.
The maximum value appears in the central pixel and gradually decreases for pixels that are further away from the central pixel.
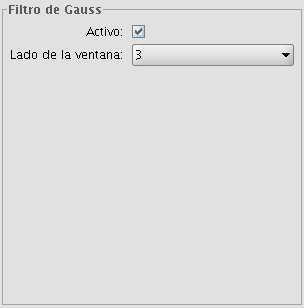
Gauss filter
CUSTOM FILTER
This is a kernel of 5 x 5 or 3 x 3, for which the values can be introduced by the user. After multiplying the pixel values with the kernel values, the result will be divided by the number specified in the Divisor textbox.
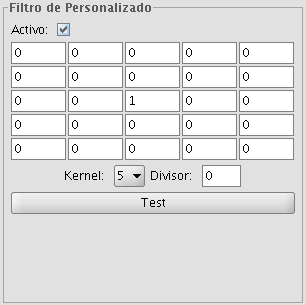
Custom filter
MODE FILTER
The mode filter applies a kernel of a certain size, which is determined by the user through the sliding bar labeled Window side.
This filter takes the value that occurs most in the surrounding pixels and assigns it to the central pixel.
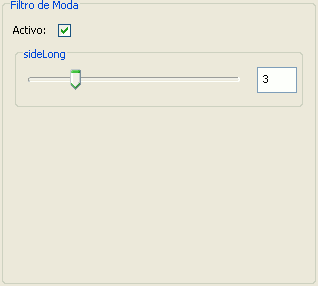
Moda filter
Ajuste de colores
Adjustment of RGB values
It is possible to change the balance between Red, Green and Blue in an image if needed. To do this, move the sliding bar to increase or decrease the values or enter the value directly in the text box next to the sliding bar. Ticking the "Brightness" check box ensures that the brightness level of the pixels will be maintained while the RGB values are changed.
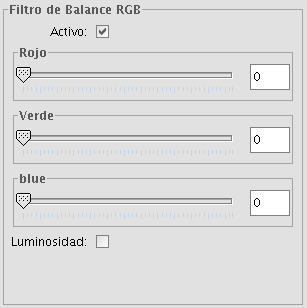
RGB balance filter
Adjustment of CMY values
It is possible to change the balance of Cyan, Magenta and Yellow in an image if needed. To do this, move the sliding bar to increase or decrease the values or enter the value directly in the text box next to the sliding bar. Ticking the "Brightness" check box ensures that the brightness level of the pixels will be maintained while the CMY values are changed.
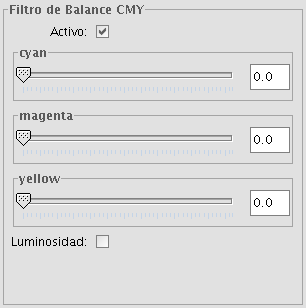
CMY balance filter
Adjustment of HBS values
It is possible to change the balance of Hue, Brightness and Saturation in an image if needed. To do this, move the sliding bar to increase or decrease the values or enter the value directly in the text box next to the sliding bar.
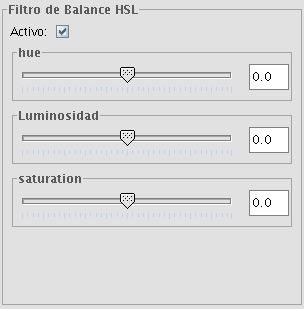
HBS balance filter
Detección de bordes
These filters attempt, through the use of kernels, to detect edges in the image and change the image so that these edges are enhanced, while the rest of the image is grayed out.
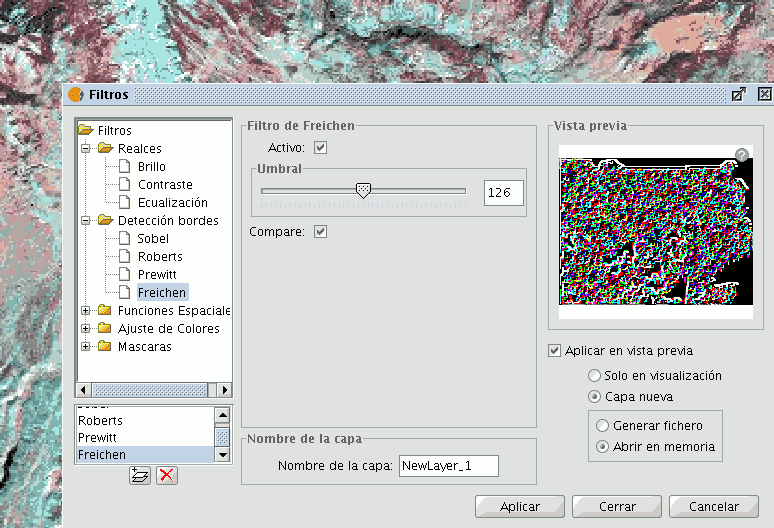
Filter dialog. Edge detection
There are four edge detection filters, all with the same interface and options, in which the user chooses a threshold in the range 0-255, and the possibility compare the results by ticking the compare check box:
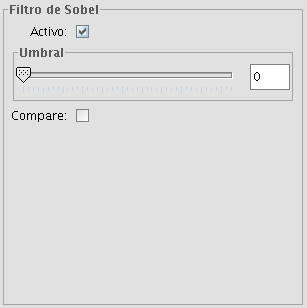
Sobel filter example
SOBEL
The Sobel filter detects the horizontal and vertical edges separately on a grayscale image. Colour images are converted to RGB gradations. The result is a transparent image with black lines and some remains of colour.
ROBERTS
The Roberts filter is suitable for detecting diagonal edges. It offers good performance in terms of location. The major drawback of this filter is its extreme sensitivity to noise and therefore has poor detection qualities.
PREWITT
The Prewit filter detects edges in all directions as it consists of 8 kernels that are applied over the image pixel by pixel.
FREI-CHEN
The Frei-Chen filter processes the neighbouring pixels as a function of their distance from the pixel that is being evaluated. The result is that edges in all directions are detected.
Máscaras
Transparent area
With this functionality it is possible to set the transparency level of a Region of Interest (ROI). The region of interest must have been defined previously. If the layer does not have a region of interest, the following message will appear: "A Region of Interest (ROI) must be defined for this layer to apply this filter. Please go to the dialog Area of Interest and select at least one ROI." If there are already one or more ROI associated with the layer, the message will not appear. Instead, a list of ROI will be shown, from which you can select one or more by ticking the corresponding check box. Then, adjust the level of transparency with the slide bar or by entering the value directly in the text box next to the slider. Ticking the check box labeled as "Inverse" will result in the opposite effect; all of the image except for the ROI will be set to the specified transparency level.
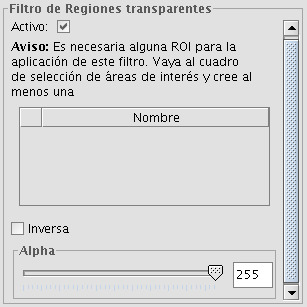
Transparent area filter
Mask
With this functionality it is possible to cut out a Region of Interest (ROI) that has been previously defined for the layer by assigning a fixed user-specified value to the rest of the image outside the ROI. If the layer does not have a region of interest, the following message will appear: "A Region of Interest (ROI) must be defined for this layer to apply this filter. Please go to the dialog Area of Interest and select at least one ROI." If there are already one or more ROI associated with the layer, the message will not appear. Instead, a list of ROI will be shown, from which you can select one or more by ticking the corresponding check box. Then, select the value to be assigned to the pixels outside the ROI by typing a number in the "value" text box. The default value is -99,999. Ticking the check box labeled as "Inverse" will result in the opposite effect; the ROI will be assigned the specified value while the rest of the image values are maintained.
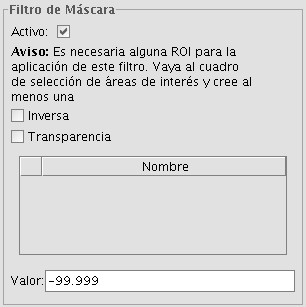
Mask filter


